Preparing new garden beds
While these instructions do not address all aspects of establishing new garden beds, they are intended to provide two possible starting points for further research and planning.
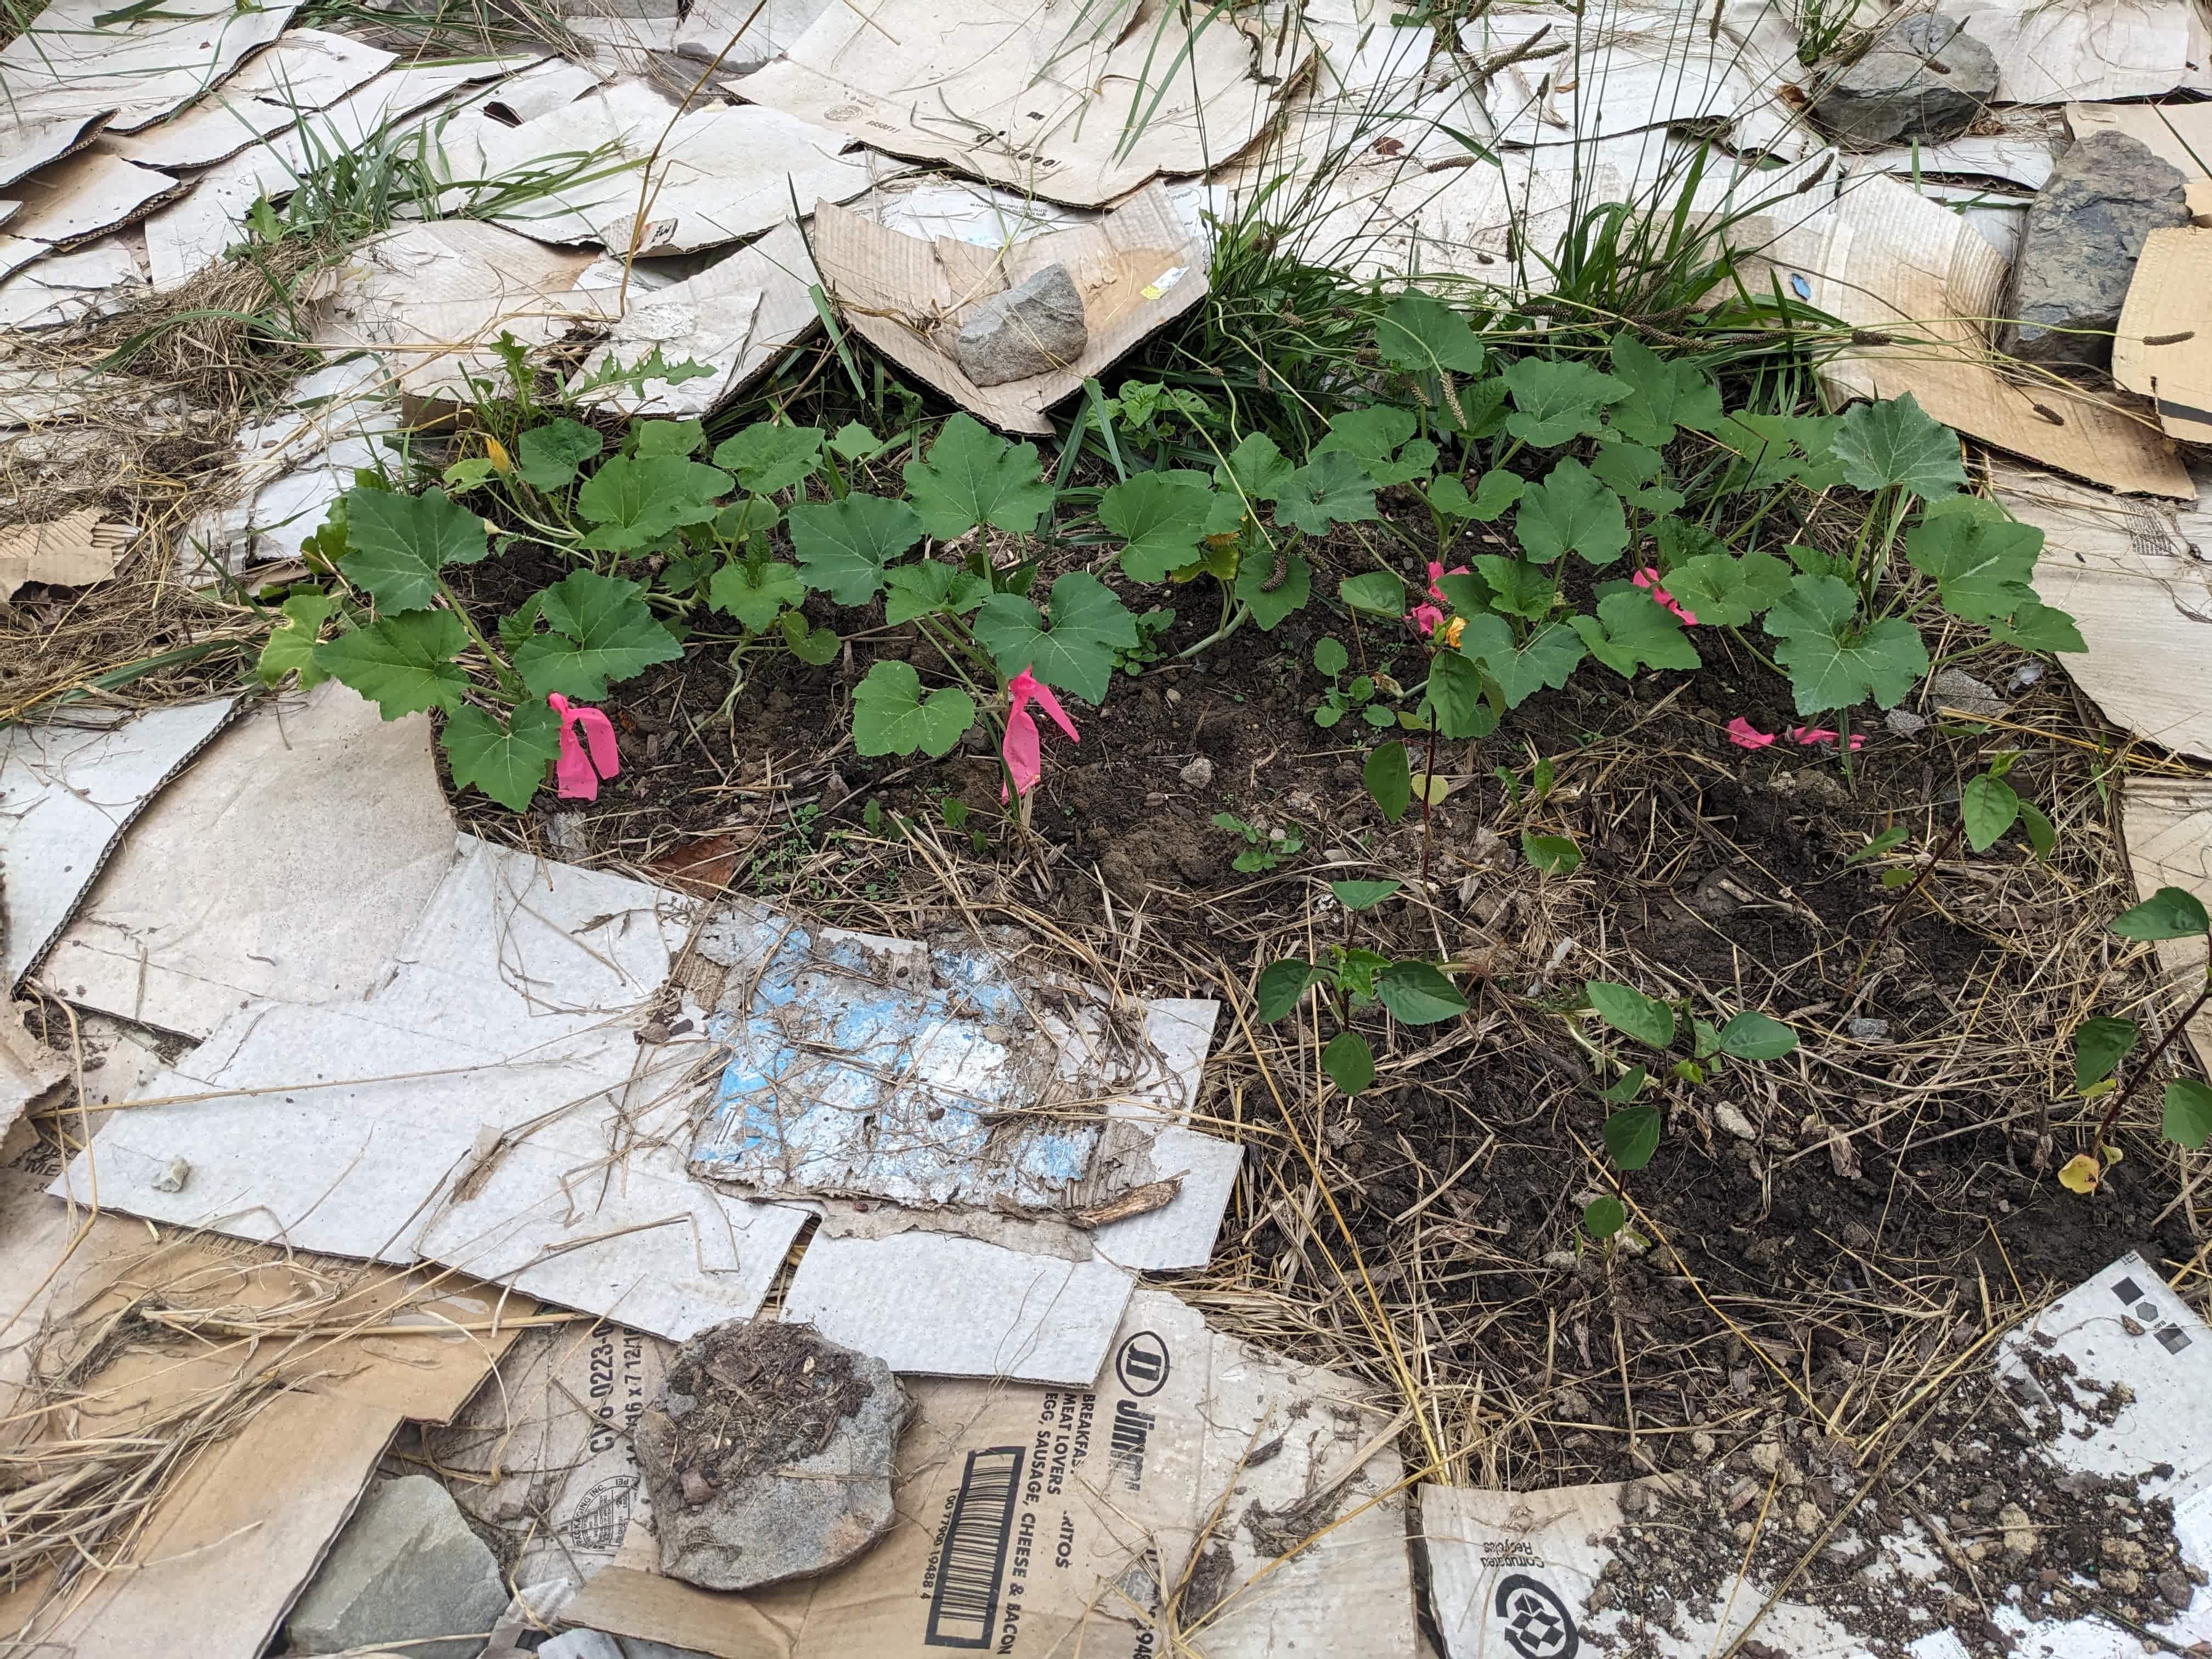
Method 1: No-Till Cardboard Mulch
Tools and materials
- Cardboard sheets (without glossy coating or tape)
- Gardening tools (shovel, rake, wheelbarrow)
- Water source (optional)
- Rocks to hold down cardboard (optional)
Steps
- Initial Preparation
- Measure and mark the garden bed.
- Remove any large rocks, sticks, or debris from the area.
- Ideally, cardboard should be applied at three or more months in advance. Humid climates or manually wetting the cardboard can reduce this time.
- Cardboard Layer
- Make sure there are no glossy coatings or tapes on the cardboard.
- Lay down overlapping cardboard sheets directly over the grass/weeds. Ensure complete coverage with no gaps.
- Issues with Wind
- Wind can carry away cardboard if it is on the top layer and has not yet begun breaking down.
- It may not be a problem for a few sheets of cardboard to blow around.
- Options for addressing this include placing rocks or mulch on top of the cardboard, or periodically wetting it.
- Waiting Period
- Allow the bed to sit three months before planting, although sometimes it is possible to plant in less time.
Method 2: Tilling
Tools and materials
- Rototiller or tractor with tilling attachment, etc.
- Rake
- Shovel
- Wheelbarrow
Steps
- Initial Preparation
- Measure and mark garden bed dimensions.
- Remove large rocks, sticks, and debris.
- Mow or cut existing grass and weeds as short as possible.
- Tilling Process
- Work when soil is slightly moist but not wet.
- Set rototiller or tractor to a depth of 8-12 inches.
- Till the entire area, breaking up compacted soil.
- Make multiple passes to ensure thorough soil disruption.
- Final Bed Preparation
- Rake the area to level it and remove any remaining large clumps or roots.
- Create slight mounds or raised areas if drainage is a concern.